In today’s world of streaming videos, DVD’s are a dying technology. Noncommercially produced ones for home movie preservation especially, do tend to degrade over time due to the pigments used in the DVD. DVD’s are not easily shareable with family. One day, DVD players will take the same path as VCR machines where they are no longer produced. Computers no longer come with DVD read/write drives, although USB cable connected drives can still be purchased.
If DVD technology is beginning to disappear the question arises as to how we can preserve those family movies on DVDs. There are software apps that can extract (“rip”) the video content from the DVD and then save it as an .mp4 video file. These large video files can then be put onto a network drive at home, a cloud drive, or other large format storage device. Using a cloud drive makes these video files easily shareable with family. If the files are on a home network drive, they can be streamed to the family smartphones, tablets, or even to the home TV.
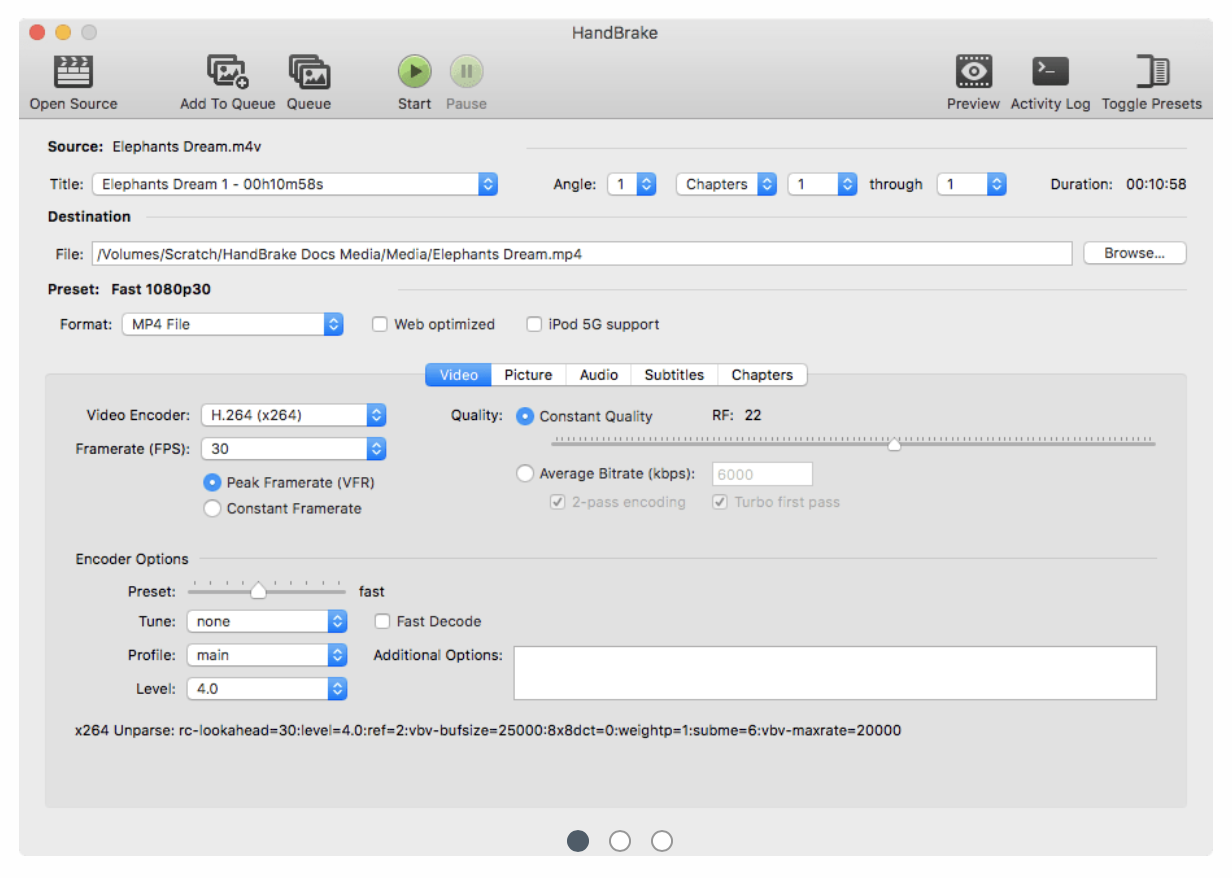
There are a variety of commercially available software apps that can “rip” or extract the video files from the DVD. There are also a variety of FREE software app as well that can do the basics of video extraction. One of the most well known is Handbrake. I included a link to the instructions below. For most home type DVDs, that don’t have encryption, the DVD is inserted into the DVD drive as the “Source”. The disk is scanned for the primary movie file. After that completes, click on the green “Start” button. Handbrake should have set everything up correctly. After the extraction process is completed, check to make sure that the home video plays correctly on the computer.